Building a RESTful API in Node JS. (For Beginners)
In this post, we'll build a super simple REST API that returns a quote.


What is a REST API?
REST is an acronym for REpresentational State Transfer and an architectural style and communication approach commonly used to develop web services known as APIs. A REST API can be used by multiple clients to get, create, update or delete data. It provides developers with lots of flexibility since it is not dependent on code libraries to access.
To get started you'll need to have Nodejs installed. If not installed download the latest version from nodejs.org/en/download.
Step 1: Project Setup
To get started open the Command Line Terminal on your system, I'll be using Windows Terminal. Navigate to a directory where you usually store your projects. To get to your designated projects folder use the command below:
cd path/to/your/projects/folder
Within that directory create a new directory called quote-rest-api using the following command and enter into that directory with cd quote-rest-api.
mkdir quote-rest-api
cd quote-rest-api
Now for every new Node.js project, you will have to run npm init -y to create a file called package.json.
npm init -y
If you open the directory you just created in a text editor or an IDE, you’ll see that the npm command created a file called package.json. If you open this file, you’ll see something like this:

Right now this file doesn't tell you much however as you begin installing additional modules (node.js packages) for your project, this file will grow in size.
Now create a folder called src which will contain all of this project's code.
mkdir src
Next in order to create our REST API, we'll need to install a Node.js library called Express which is a fast, unopinionated, minimalist web framework for Node.js. This library will make your life a lot easier in comparison to creating an HTTP server natively
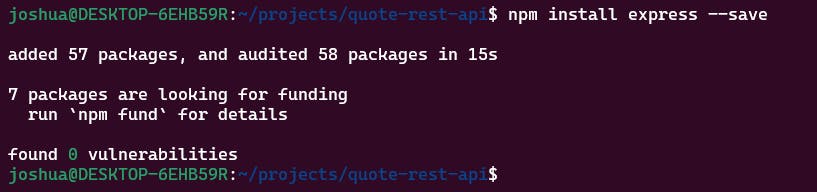
npm install express --save
There's a chance that you might've just seen a lot of information in your terminal but don't freak out! That behavior is expected. Otherwise once npm is done installing Express into your project you will see an output similar to this:
Enter the src folder and create a file called index.js
cd src
touch index.js
Step 2: Creating the HTTP server
So far we've created the project directory, initialized a new node project, and installed Express. In this step, we'll be creating the HTTP server necessary for listening to incoming HTTP requests on a given port.
This step is essentially what allows a web server to respond to requests on a URL such as cataas.com/cat which responds with a cat image 😸.
To create the HTTP server open your text editor or IDE of choice and add the following code to the index.js file:
const express = require("express");
const port = 3000;

const app = express();

app.listen(port, () => {
  console.log("Server now listening on port 8080");
});
What we've just done is import the express module into the file const express = require("express"); and started the HTTP server with the app.listen() function. This function binds and listens for connections on the specified host and port. We specified no host so on your local machine this defaults to localhost and we've specified the port as a constant variable with the value of 3000.
To start the web server go back to your terminal and enter the base directory of your project. Now run the command node src/index.js. You should get the below result.

Step 3: Creating HTTP routes
Now if you go to localhost:3000 your browser will return a 404 (Page Not Found) error. That's because we haven't specified any routes for the webserver to listen to requests on. (A route is pretty much the slash part of a URL./this-is-a-route)
Let's specify two routes to listen on as well as to return some data. Add the following block of code after the const app = express(); line in your index.js file.
app.get("/", (req, res) => {
  res.send("Hello World!");
});

app.get("/quote", (req, res) => {
  res.send({
    quote: "A kid can do it too.",
    author: "JoshTheNerd",
  });
});
Now, save the file and return to your terminal running the webserver. To stop the server, press Ctrl + c at once on your keyboard. You should now see this:

Start the webserver again by running the same start command as before node src/index.js.
Step 5: Testing your new RESTful API
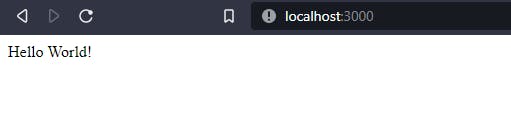
You can now open your browser and go to the URL localhost:3000. You should see the following response:
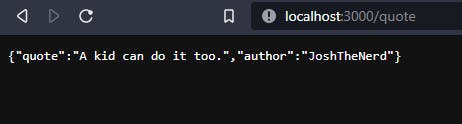
And if you go to localhost:3000/quote you should see:
Conclusion
Congratulations! 🥳🎉
You've just created a really simple API that returns a JSON response on the route /quote that contains quite possibly the worst quote you've ever heard 😂.
If this is your first time creating a REST API I applaud you for reaching the end of this blog, especially considering the fact that this is the first blog post that I have ever written.
I hope you subscribe to my newsletter to be notified of new posts as I will be posting a lot more tutorials and tips to help others on their journey to becoming a developer. I'll also be writing content documenting my experience running software companies as well as problems that I've discovered solutions to.